Do you love your car? Then make sure you are taking care of it right.
For others, they see the cleaning of exteriors and interiors or those that eyes can only see is enough to say that they got a clean car.
They give too much time cleaning the details of their car like the side doors, dashboards, bumpers, seat cover, and the like, there is nothing wrong doing that as long as you are giving the same attention to the undercarriage of your car.
Contents
Items You Need for the Work
- A pressure washer, we recommend buying this one.
- Car life! Not possible? Get a ramp instead.
- Degressure, we suggest buying this liquid one.
- Last, a good car brush.
Importance of Cleaning Undercarriage
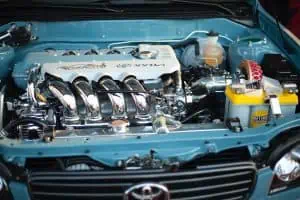
You go to different places in your car, roads that are too rough, sandy, and the like, thus leaving the undercarriage of your car dirty. Failing to clean them after use can possibly cause:
Drainage Holes Clogging: Drainage holes of undercarriage may get restricted and clogged due to the building up of particles that you get from the road.
This will give moisture to your car interiors like carpets, thus making it produce a foul or unpleasant odor or can bring damage to your car.
Rusting: You sure cannot avoid rocks and sharp particles that can chip your car’s undercarriage, thus leaving those bare metals exposed.
You know for a fact that metal is vulnerable to rusting, thus not checking it on a regular basis can make this occur.
Rusting can give you different issues, like breaking of the car earlier than expected, and for those who are planning to sell their car, lesser resale value.
How to Clean Undercarriage of Your Car?
 You have two options, one is to go to a professional undercarriage car cleaning business, or two, work on it yourself.
The first option is recommended to those who have no time and no knowledge to perform the job.
The work is time-consuming and should not be performed anyway in a rush and the cleaning can come complex, thus if you do not know how to do it, then better seek professional help.
You would not want to do cleaning and end up not getting the desired result.
On the other hand, if you want to save money and want to work on things your way and your time, considering performing undercarriage cleaning by yourself is possible.
Is it easy?
Actually, if you have the right tools and knowledge, the work can be considered “basic”.
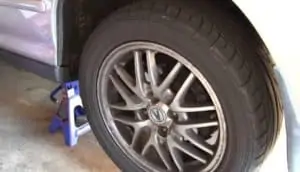
Step 1: Proper car positioning
You need to give yourself enough clearance and space to move under your car, thus using steady jacks is needed to lift your car up. Removing your wheels is recommended to ensure that all sides and corners of your car undercarriage will get cleaned.
For others, especially those who are participating in car shows, thorough cleaning is required, thus instead of just using steady jacks, a mechanical car lifter is recommended to use, although not all households have this machine available.
For safety and security, it is necessary that you take the safest precautions when getting under your car, check the jacks regularly and make sure they are sturdy all throughout the undercarriage cleaning.
Do not be too complacent as this may come highly risky.
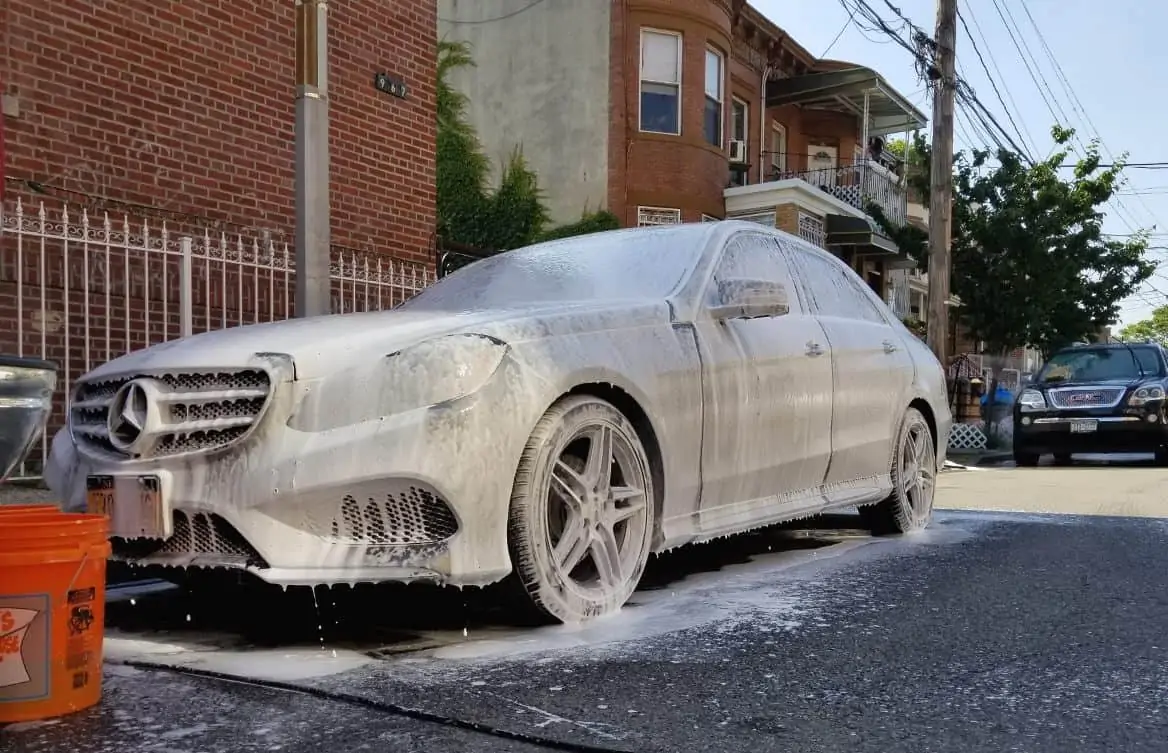
Step 2: Pressure wash the entire undercarriage
When buying a pressure washer, choosing the best pressure washer available in the market is a must.
You can ask around experts or check on different reviews, blogs, and forums discussing pressure washers, on which brand they highly recommend.
Never settle on checking just on the price alone, focus on the quality.
Some may see this step enough for the day, but for others who want to take one step ahead, they opt to do
Step 3: Degrease the entire undercarriage
You can do this by coating the entire undercarriage with the degreaser.
Degreasers are available in car shops, auto supply, DIY shops, etc., each of them has different procedures and instructions to use, thus reading the label before an application is required.
In general, after applying the degreaser, let it sit for around 20 minutes is recommended.
Step 4: Go back to step 2
Using the best pressure washer you buy, pressure washes the entire undercarriage and makes sure that the degreaser is completely removed.
Step 5: Brush off heavily soiled areas
Spotting and checking on parts heavily soiled is next. Brushing them off using a brush is necessary to ensure that they are all removed.
Step 6: Go back to step 2
Then work is all done, make sure though that you let it dry before using it again.
Note: Check on the stability of your jacks, as pressure from your washer can affect the durability and stability of your jacks, before performing steps 3 and 5.